Introduction
Themeforest is a popular online marketplace that offers a vast selection of premium WordPress themes created by talented developers from around the world. Whether you’re setting up a personal blog, an e-commerce site, or a business website, you can find a wide range of beautifully designed and feature-rich themes to suit your needs. In this guide, we will walk you through the step-by-step process of installing a WordPress theme purchased from Themeforest to help you create a stunning and professional website.
1. Purchase a Theme on Themeforest
Before you can install a WordPress theme from Themeforest, you need to purchase the theme of your choice. Follow these steps to make your purchase:
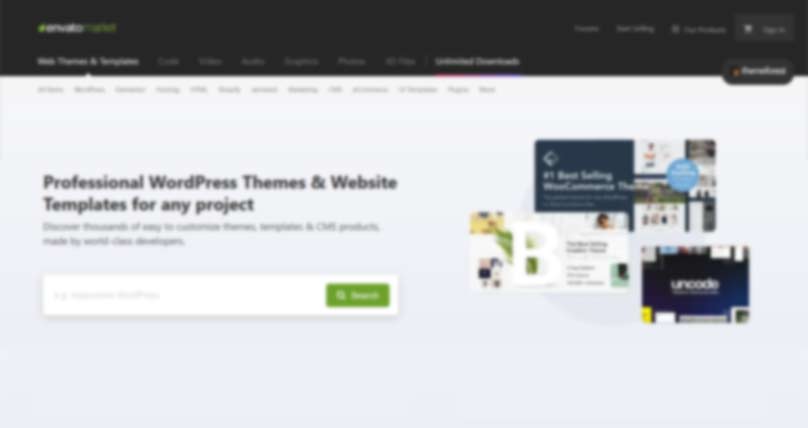
- Visit Themeforest: Go to the Themeforest website (www.themeforest.net) and browse the categories or use the search function to find the theme that fits your website’s requirements.
- Choose Your Theme: Once you’ve found a theme you like, click on it to view more details, read the theme description, and see live demos.
- Purchase the Theme: Click the “Buy Now” or “Add to Cart” button to purchase the theme. You may be prompted to log in or create an account if you haven’t done so already.
- Complete the Payment: Follow the on-screen instructions to complete the payment process using your preferred payment method.
- Download the Theme: After the purchase is complete, go to your Themeforest account’s “Downloads” section to download the theme files to your computer.
2. Preparing the Theme Files
Before you install the theme on your WordPress website, you might need to prepare the theme files for installation. Most themes purchased from Themeforest come in a zip file, which includes not only the theme itself but also additional files such as documentation, child themes, and demo content. Here’s what you need to do:
- Locate the Zip File: Find the zip file of the theme you downloaded from Themeforest on your computer. It is usually named after the theme itself.
- Extract the Zip File: Right-click on the zip file and select “Extract” or “Unzip” to extract its contents. This will create a new folder with the same name as the zip file.
- Explore the Contents: Open the newly created folder and explore its contents. Look for the main theme folder, which contains the necessary files for installation.
- Documentation and Demo Content: If you’re interested in using the theme’s demo content or need guidance on how to set up the theme, look for the documentation folder, which usually contains detailed instructions and guides.
- Child Theme: If the theme comes with a child theme, you might find a separate folder for it. A child theme is recommended for making customizations without modifying the parent theme’s code.
3. Installing the Theme in WordPress
With the theme files prepared, it’s time to install the theme on your WordPress website. Here are the steps to do so:
- Login to Your WordPress Dashboard: Go to the login page of your WordPress website (usually www.yourwebsite.com/wp-admin) and enter your username and password to access the WordPress dashboard.
- Navigate to the Themes Section: In the WordPress dashboard, go to “Appearance” and then click on “Themes.” This will take you to the themes management page.
- Click “Add New”: On the themes management page, click the “Add New” button at the top of the page. This will allow you to add a new theme to your WordPress website.
- Upload the Theme: On the next screen, click the “Upload Theme” button. This will open a new window where you can upload the theme files.
- Select the Theme Zip File: Click the “Choose File” button and select the main theme zip file from your computer that you prepared in the previous section.
- Install the Theme: Once you’ve selected the theme zip file, click the “Install Now” button to begin the installation process.
- Activate the Theme: After the theme is installed successfully, click the “Activate” button to make the theme active on your WordPress website.
4. Configuring the Theme
Once the theme is installed and activated, you may need to configure its settings to customize the appearance and functionality of your website. The specific options and settings will vary depending on the theme you chose. Here are some common steps to configure a WordPress theme:
- Customizer Settings: Many themes provide customization options through the WordPress Customizer. Go to “Appearance” and click on “Customize” to access the theme’s customization panel.
- General Settings: Configure general settings such as site title, tagline, logo, and favicon to represent your brand or website identity.
- Color and Typography: Customize the color scheme and typography to match your brand or design preferences.
- Header and Footer: Set up the header and footer layouts, including menus, widgets, and social media links.
- Homepage and Layout: Configure the layout of your homepage and other pages, including the sidebar options and featured content sections.
- Plugins and Add-ons: Some themes may require specific plugins or add-ons to unlock additional features. Install and activate the recommended plugins as per the theme documentation.
- Import Demo Content: If the theme includes demo content, you can import it to quickly set up your website with sample content. Be cautious if you already have existing content, as importing demo content may overwrite it.
5. Testing and Previewing
After configuring the theme, it’s essential to thoroughly test your website to ensure everything is working correctly and looks as expected. Here are some testing and previewing steps:
- Responsive Design: Check the website’s responsiveness on different devices, including desktops, laptops, tablets, and smartphones, to ensure it adapts well to different screen sizes.
- Cross-Browser Compatibility: Test the website on various web browsers such as Google Chrome, Mozilla Firefox, Safari, and Microsoft Edge to ensure consistent performance and appearance.
- Link Check: Verify that all internal and external links are working correctly and leading to the intended destinations.
- Form Submission: If your website includes forms, submit them to ensure they are properly functioning and capturing data.
- Load Speed: Use tools like Google PageSpeed Insights or GTmetrix to check your website’s load speed and optimize any slow-loading elements.
- Proofreading: Review all content on your website for grammar, spelling errors, and formatting issues.
6. Maintaining Your WordPress Theme
After successfully installing and configuring your WordPress theme, it’s essential to keep it up-to-date and perform regular maintenance to ensure smooth and secure website performance. Here are some tips for maintaining your WordPress theme:
- Update the Theme: Keep your theme updated with the latest version released by the theme developer. Regular updates often include bug fixes, improvements, and compatibility enhancements.
- Update Plugins: If the theme relies on specific plugins, ensure that they are also kept up-to-date for optimal performance.
- Regular Backups: Back up your website regularly to protect against data loss in case of any unexpected issues or security breaches.
- Security Checks: Regularly monitor your website for security vulnerabilities and implement security measures to protect against potential threats.
- Optimization: Periodically optimize your website for performance by cleaning up unnecessary files, database optimization, and caching.
Conclusion
Installing a WordPress theme from Themeforest is a straightforward process that can significantly enhance the look and functionality of your website. By following the steps outlined in this guide, you can confidently choose a theme, install it on your WordPress website, and customize it to suit your preferences. Remember to regularly maintain your theme and keep it up-to-date to ensure optimal performance and security for your online presence.